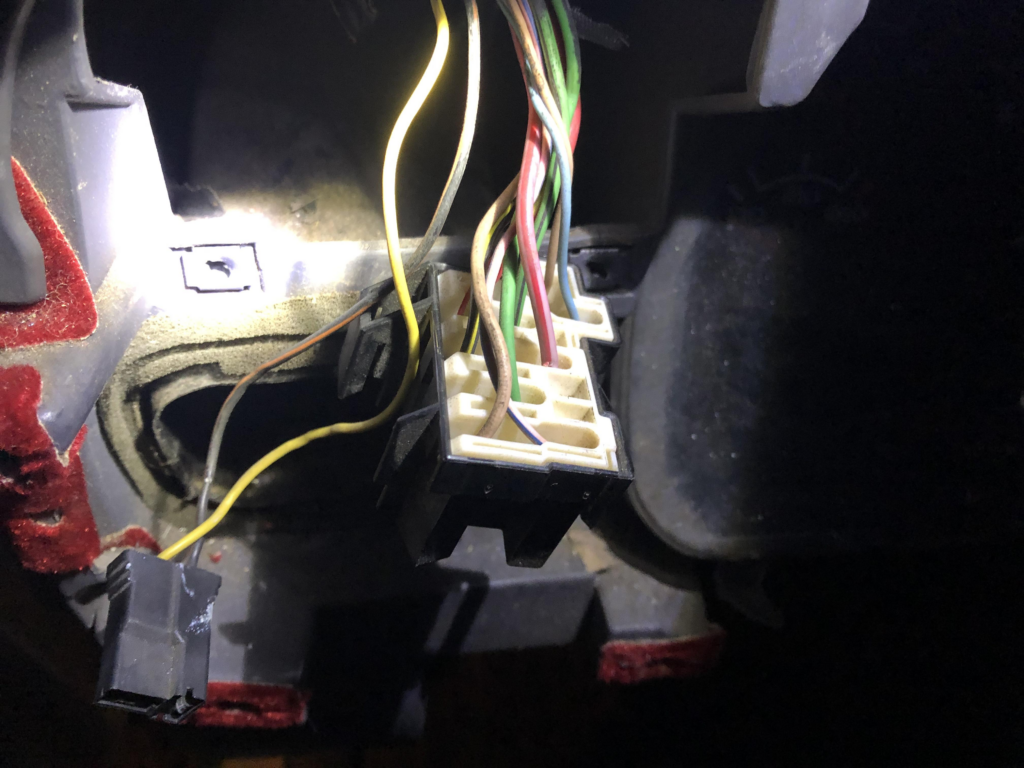
This article covers the Dodge headlight switch wiring diagram and how to correctly interpret it.
Dodge vehicles always melt their headlight switches. Causing you unsafe lighting issues, especially during long road trips.
That’s why we made this guide on reading Dodge-style headlight switch wiring diagrams. Letting you replace your vehicle’s switch with ease.
By the end of this article, you’ll learn how to understand and interpret headlight switch wiring diagrams for the Dodge.
Keep reading to learn more about Dodge headlight switch wiring diagrams.
Dodge Headlight Switch Wiring Diagram Explanation
Replacing your Dodge’s headlight switch can be daunting when it’s your first time. Their wiring diagram can look overwhelming, but we’ll guide you through understanding them.
Wiring diagrams have an illustration of the switch’s terminals and their wiring assignments.
Here’s a sample Dodge headlight switch wiring diagram:
Detach your Dodge car’s battery ground terminal before continuing with the headlight switch replacement.
It’s best to start by connecting the red wire with a white stripe and the pink wire with a red stripe into terminals B1 and B2, respectively. These are the switch’s connections to your car’s battery fuse.
You’ll then connect the light blue wire into terminal B3. This is the switch sensor for your key-in ignition lights.
Next, you’ll attach the tan wire to terminal 1. This controls your Dodge’s dimmer switch signal for the panel lights.
Following that, you’ll be connecting the yellow wire into terminal D to power up the switch sensor of your door jamb’s light.
Connect the light green wire to terminal H. This is the main switch for your headlights.
After that, attach the light green wire with a white stripe to terminal P. This is your headlights’ dimmer switch. It’s also another connection to the battery fuse.
Next, connect the black wire with a yellow stripe to terminal R. This is the switch of your Dodge’s park lights.
Finally, attach the black wire with a light blue stripe to terminal U. This controls the switch sensor of the driver’s side door jamb light.
And you’re done! Changing your Dodge car’s headlight switch is that simple. Always use your wiring diagram during the replacement process, so you don’t run into any errors.
Which Headlight Switch Wiring Diagram You Need For Your Dodge Vehicle
Most Dodge vehicles have a similar headlight switch. However, there might be differences in their routing. That’s why using the wiring diagram specific to your car’s make and model is best.
You can quickly get a copy of your Dodge vehicle’s wiring diagram from the official manufacturer’s website. Ensure that the schematic you use is specific to your car’s make and model to avoid complications.
Even headlight switches may vary with their terminals and routing. You should refer to their included wiring diagram when installing it onto your Dodge car. You’ll also find the switch’s schematic on their brand’s official website.
How To Test Dodge Headlight Switch Wiring
After installing your brand new headlight switch, testing them for their functionality is essential. You could do a couple of tests to ensure they are working correctly.
One is by testing the switch’s circuitry with the help of a multimeter measuring in Ohms. This lets you know if the terminals are active and provide enough electricity to power your Dodge’s lights.
Another quick test is by simply turning on your headlights and park lights. If they turn on without dimming or flickering, your switch works properly. Otherwise, you should check if connections are loose or incorrect.
Summing it up
Now that you’ve learned how to replace your Dodge’s headlight switch, always remember to use the correct wiring diagram as your reference to avoid any mishaps.

